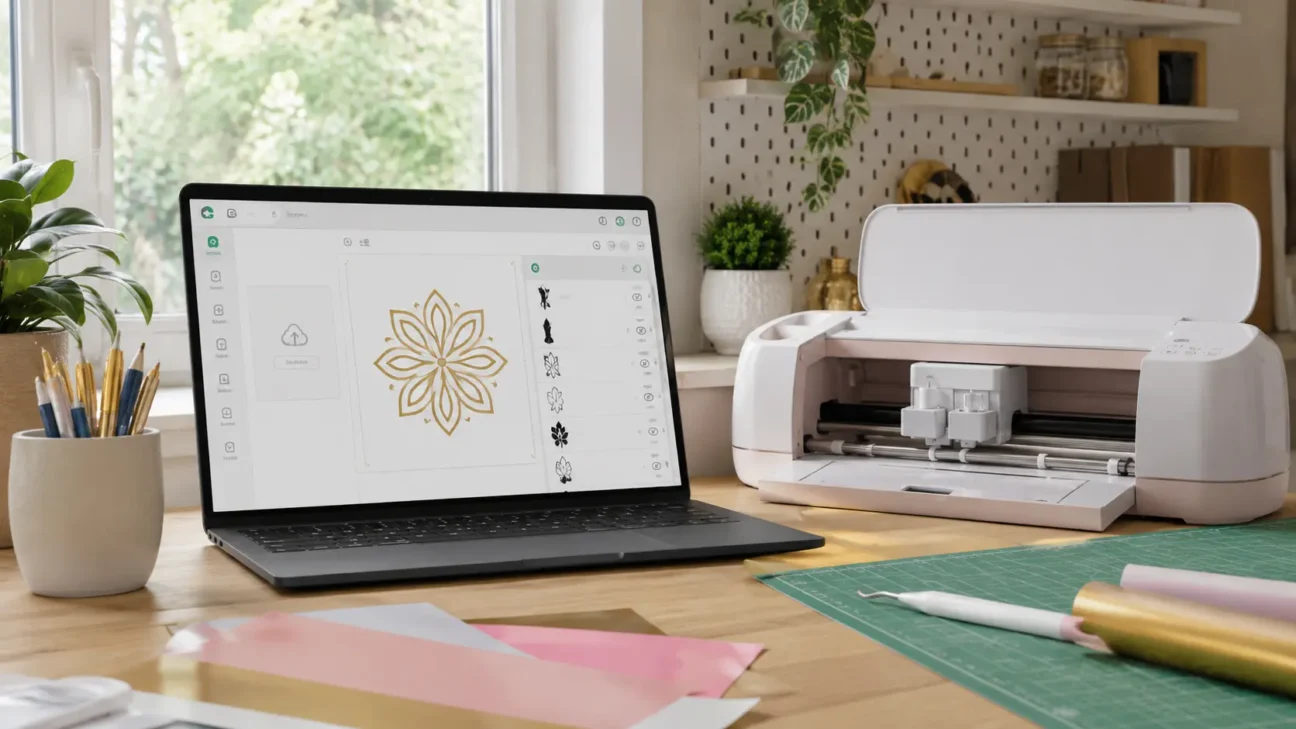
Learning how to upload SVG files to Cricut is one of the most valuable skills you can develop as a digital crafter. Once you know the process, you are no longer limited to the images already available inside Cricut Design Space. You can work with professionally designed cut files, personalized artwork, custom lettering, layered graphics, and original designs created specifically for your projects.
SVG files are especially useful when you want crisp edges, editable layers, and artwork that can be resized without losing quality. Whether you are creating vinyl decals, heat transfer vinyl shirts, cardstock decorations, stencils, labels, or supporting elements for a premium sublimation project, a properly prepared SVG gives you far more control over the finished result.
This guide walks you through the complete Cricut SVG upload process on desktop and mobile, explains what to do after the file reaches your Canvas, and helps you fix the most common upload problems.
Table of Contents
- What Is an SVG File?
- SVG Files and Sublimation Designs
- What to Check Before Uploading
- How to Upload SVG Files on Desktop
- How to Upload SVG Files on Mobile
- What to Do After Uploading
- Common SVG Upload Problems
- Professional Design Tips
- Frequently Asked Questions
What Is an SVG File?
SVG stands for Scalable Vector Graphics. Unlike a JPG or PNG, which is built from pixels, an SVG is constructed from mathematical paths, shapes, curves, and points.
This vector structure gives SVG files several major advantages:
- They can be resized without becoming blurry or pixelated.
- Different colors can be imported as separate design layers.
- The cutting paths are already defined before the file enters Design Space.
- Individual elements can often be moved, hidden, duplicated, or recolored.
- Clean vector edges usually produce smoother cuts than low-resolution raster images.
When you upload an SVG to Cricut Design Space, the software generally treats the vector paths as cut lines. If the designer organized the file into multiple layers, those layers should appear as a grouped design on the Canvas.
This is why a well-built SVG is usually the best format for layered vinyl, heat transfer vinyl, paper crafts, stencils, signs, labels, and other projects that depend on accurate cutting.
An Important Note About SVG Files and Sublimation
An SVG file is not automatically a full-color sublimation print file. This distinction is important because sublimation artwork often contains gradients, watercolor textures, distressed effects, shadows, photographs, and other details that are better preserved in a high-resolution PNG.
For premium sublimation work, use each format for the job it performs best:
- Use SVG files for clean shapes, monograms, outlines, cutting guides, masks, offsets, layered lettering, vinyl details, and simple flat-color graphics.
- Use transparent PNG files for full-color sublimation artwork, watercolor graphics, realistic textures, complex shading, and photographic details.
A strong professional workflow may use both formats. For example, you might use a vibrant PNG as the printable sublimation artwork and an SVG to create a precise outline, decorative border, vinyl name, stencil, or cut guide.
Do not convert a detailed full-color sublimation design into an SVG simply because SVG sounds more professional. Complex color effects can be altered, separated, or lost when they are converted into vector cut paths. Choose the format based on how the artwork will actually be produced.
What to Check Before Uploading an SVG to Cricut
A few quick checks can prevent most Cricut SVG upload problems.
1. Extract the File from the ZIP Folder
Many digital design bundles are delivered as ZIP files. Cricut Design Space cannot upload the entire compressed folder as an SVG. You must extract or unzip the folder first.
After extracting it, look for a file ending in .svg. A design bundle may also include PNG, DXF, EPS, PDF, or JPG versions, so make sure you select the correct format.
2. Confirm That It Is a Genuine SVG
Renaming a JPG from “design.jpg” to “design.svg” does not convert it into a vector file. The artwork must be exported as a genuine SVG from vector-design software.
3. Use Artwork You Are Authorized to Upload
Upload only artwork you created, purchased with the appropriate license, or have permission to use. A commercial-use license may be required if you plan to sell physical products made with the design.
4. Convert Editable Text Before Exporting
SVG files prepared for Cricut should not depend on editable live fonts. Before exporting, text should normally be converted to outlines, curves, or paths. This prevents missing-font errors and helps the lettering retain its intended appearance.
How to Upload SVG Files to Cricut Design Space on Windows or Mac
The desktop version of Design Space offers the clearest workflow for organizing and checking layered SVG designs.
- Open Cricut Design Space. Launch the application, sign in to your Cricut account, and open a new or existing Canvas.
- Select Upload. From the design panel on the left side of the Canvas, select Upload.
- Select Upload Image. Choose the option to upload an image from your computer.
- Locate your SVG file. Select Browse and navigate to the folder containing your extracted SVG. You can also drag and drop the SVG directly into the upload window.
- Open the file. Select the SVG and choose Open. Design Space should recognize it as a vector image and display a preview.
- Review the preview. Check that all major elements are visible. If lettering, shapes, or decorative details are missing, the original SVG may contain unsupported effects or improperly prepared elements.
- Select Continue. Move to the image details screen.
- Name and organize the design. Give the image a useful name and add searchable tags. You may also add it to a Collection to keep related graphics organized.
- Select Upload. The design will be saved to your uploaded image library and added to the Canvas.
- Inspect the Layers panel. A multilayer SVG normally arrives as a grouped image. Open the Layers panel to confirm that the colors and design elements are separated correctly.
How to Upload SVG Files to Cricut Design Space on iPhone, iPad, or Android
You can also upload SVG files through the Cricut Design Space mobile app. The exact file-selection screen may vary depending on your device and storage service.
- Download the SVG file and extract it if it arrived inside a ZIP folder.
- Save the extracted SVG in a location your device can access, such as Files, iCloud Drive, Google Drive, Dropbox, or another supported storage service.
- Open the Cricut Design Space app and enter the Canvas.
- Tap Upload on the bottom toolbar.
- Choose the option that allows you to browse or select a file.
- Navigate to the saved SVG and select it.
- Review the design preview.
- Enter a clear name for the design.
- Tap Upload to save it and add it to your Canvas.
If the file does not appear in the browser, confirm that you extracted the ZIP folder and saved the actual SVG to a location accessible through your device’s file manager.
What to Do After Uploading Your SVG
Uploading the file is only the first step. A careful Canvas inspection helps you avoid wasted vinyl, paper, transfer sheets, and production time.
Check the Layer Structure
Look at the Layers panel and compare it with the original preview. Multicolor designs should usually contain separate layers for the different colors or design sections.
If you want to move or edit individual elements, select the design and choose Ungroup. Avoid ungrouping unnecessarily, especially when the design contains many small pieces that are already arranged correctly.
Resize the Design Proportionally
Use the width and height controls to set the final project size. Keep the proportions locked unless you intentionally want to stretch the artwork.
SVG files can scale cleanly, but the physical details still need to suit your material and blade. A tiny line that looks perfect on screen may be too delicate to cut, weed, or press successfully.
Choose the Correct Operation
Confirm how Cricut should process each layer. Depending on the project, a layer may need to be set as Basic Cut, Draw, Score, Engrave, Foil, or Print Then Cut.
Do not assume every imported SVG layer is already assigned to the production method you want. Review each layer before selecting Make.
Common Problems When Uploading SVG Files to Cricut
The SVG File Does Not Appear
The SVG may still be inside a ZIP folder. Extract the download and browse to the uncompressed file. You should be selecting a file that ends in .svg, not the ZIP folder itself.
Design Space Says the File Is Unsupported
Confirm that the file is a genuine SVG. A raster image renamed with an SVG extension will not become a valid vector file. Re-export the design from appropriate vector software or contact the original designer for a corrected version.
The SVG Is Too Complex to Upload
The design may contain more than 5,000 paths or an excessive number of vector points. Simplify the artwork by removing hidden objects, reducing distressed textures, combining overlapping shapes, and cleaning automatic trace results.
For complex printed artwork, a transparent PNG may produce a cleaner and more efficient result than an oversized SVG.
Text Is Missing or Looks Different
The original designer may have exported the file with editable text instead of converting the letters to outlines or paths. Open the design in vector software, convert the text, and export a new SVG.
Professional Tips for Cleaner Cricut SVG Projects
Start with a Clean Master File
A professional SVG should have logical groups, clear layer names, closed paths, converted text, and as few unnecessary anchor points as possible. Clean files upload faster and are easier for customers or production teams to use.
Design for the Final Material
Do not judge a design only by how attractive it looks on screen. Consider how it will cut, weed, press, layer, and survive regular use.
Extremely thin lines may disappear during cutting. Tiny isolated details can be difficult to weed. Overly dense layers may create bulky heat transfer vinyl applications. Simplify strategically while preserving the character of the design.
Separate Colors Intentionally
For layered vinyl projects, organize colors into sensible production layers. Remove hidden overlaps when possible and include alignment marks only when they genuinely improve the assembly process.
Create a Small Test Cut
Before using expensive specialty vinyl, premium cardstock, or a full sublimation blank, test a small section of the design on a lower-cost material. This helps you evaluate detail size, blade pressure, weeding difficulty, and overall proportions.
Frequently Asked Questions About Uploading SVG Files to Cricut
Why can’t I upload my SVG file to Cricut Design Space?
The file may still be compressed inside a ZIP folder, may not be a genuine SVG, or may contain unsupported elements such as editable text, complex masks, or excessive vector paths. Extract the download, confirm the file extension, and simplify or re-export the artwork if necessary.
How do I upload a layered SVG to Cricut Design Space without losing the layers?
Upload the original SVG through the vector-image upload process rather than converting it to JPG or PNG first. Properly constructed layered SVG files should enter the Canvas as a grouped design with separate layers visible in the Layers panel.
Should I use SVG or PNG for Cricut sublimation projects?
Use SVG for simple vector shapes, lettering, outlines, masks, and cut guides. Use a high-resolution transparent PNG for full-color sublimation artwork containing gradients, watercolor effects, photographs, shading, or detailed textures. Many professional projects benefit from using both formats together.
Conclusion: Upload Your SVG and Start Creating
Once you understand how to upload SVG files to Cricut Design Space, custom crafting becomes far more flexible. You can bring in professionally designed cut files, edit individual layers, personalize colors, resize artwork, and prepare each element for the correct production method.
The key is to begin with a properly prepared SVG, extract it from any ZIP folder, inspect the layers after uploading, and choose the correct Cricut operation before making the project.
For sublimation creators, remember that SVG and PNG files serve different purposes. Use SVG when you need scalable shapes and clean cut paths. Use PNG when the design depends on rich color, gradients, textures, or photographic detail. Combining the two thoughtfully can produce a refined, premium result that looks intentional rather than improvised.
Your Next Step
Choose a simple, well-organized SVG and upload it to a blank Cricut Design Space Canvas. Inspect the layers, resize the design, confirm the operation settings, and make a small test project. Once that workflow feels comfortable, move on to layered graphics, personalized products, and more advanced SVG-and-sublimation combinations.